Authentication Methods
 There are three different types of authentication:
- Collaborators: Access the Admin Studio UI to manage and edit chatbots based on their roles.
- Chat Users: Can speak to chatbots listed in the Admin UI.
- External Users: The developer handles user authentication by providing a JWT token to identify the user.
Authentication Overview
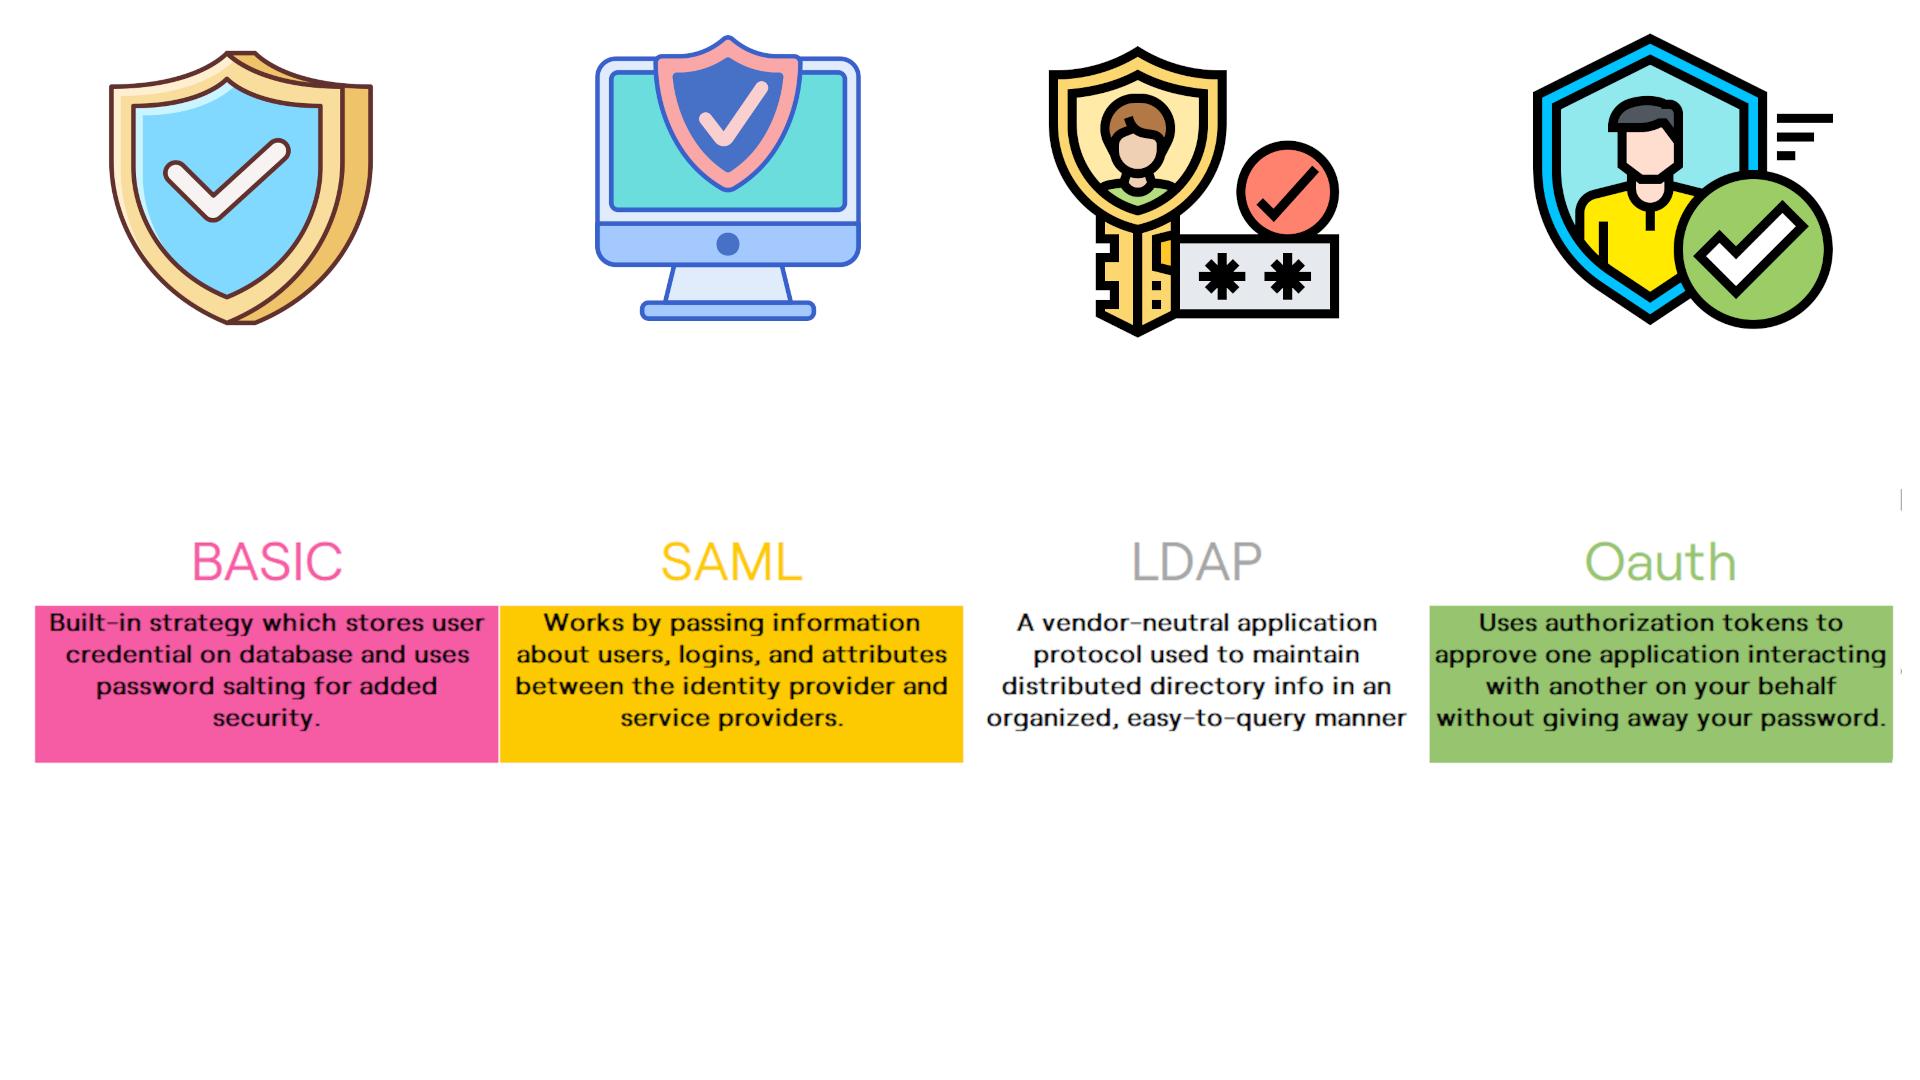
Four authentication strategies are available, namely, Basic, SAML, OAuth2, and LDAP. You can implement these multiple times (for example, you could have two different OAuth2 configurations for different workspaces).
 Regardless of which authentication strategy you use, they are all stored in the database. When you add a new strategy in the
 botpress.config.json and restart your application, Botpress will create a new table called strategy_STRATEGYID.
Each time you grant access to a user for a specific workspace, an entry is created in the table workspace_users with his role.
Chatbots with more than one authentication strategy will exhibit a menu from which you can pick a strategy. You can skip the menu and bookmark a specific strategy by changing the page URL: /admin/login/STRATEGYID.
Moreover, you can access a specific workspace by using /admin/login?workspaceId=WORKSPACEID
You can find the definition for the various authentication strategies here.
Basic Authentication
Basic Authentication allows a user to log in with a simple username/password. The password is salted for added security.
To create more accounts, visit the Collaborators tab on the Admin UI. Choose the role and enter the email of your collaborator, then you will receive a random password. The user will change this password after the first login.
Super Admins can reset the password of any user from the Action menu in the collaborators' interface.

Configuration Example
In your botpress.config.json file:
{
 "pro": {
    "collaboratorsAuthStrategies": ["default"],
  },
  "authStrategies": {
    "default": {
      "type": "basic",
      "label": "Default Auth",
      "options": {}
    }
  }
}
Additional Security
You can configure additional options when using this authentication strategy. Please refer to the configuration file for more information :
maxLoginAttempt: Maximum number of tries allowed before locking out the user.lockoutDuration: Account will be disabled for this amount of time when a user reaches themaxLoginAttempt.passwordExpiryDelay: Password will expire after this time lapses.passwordMinLength: Minimum length for the user's password.requireComplexPassword: Requires at least one character of 3 categories of characters.
Forgot your password?
Only the first user is allowed to register a new account. If you forgot your password and can't access your account, you will need to clear the list of users, and then you will be able to re-create your account. However, if you have already created other users with an administrator role, they can reset your password for you.
You can clear the list of users by emptying (or deleting) the table strategy_default (if you are using the default strategy)
OAuth2
Some OAuth2 implementations return a JWT token containing all the user's information, while some other returns a unique token, which Botpress must then use to query the user's information.
{
 "pro": {
    "collaboratorsAuthStrategies": ["default"],
  },
  "authStrategies": {
    "botpress": {
      "type": "oauth2",
      "options": {
        "authorizationURL": "https://example.auth0.com/authorize",
        "tokenURL": "https://example.auth0.com/oauth/token",
        "clientID": "your-client-id",
        "clientSecret": "your-client-secret",
        "callbackURL": "http://localhost:3000/api/v1/auth/login-callback/oauth2/botpress",
        /**
         * If the token doesn't contain user information, set the userInfoURL
         */
        "userInfoURL": "https://example.auth0.com/userinfo",
        /**
         * If the token already includes all user information,
         * */
        "jwtToken": {
          "audience": "my-audience",
          "issuer": "some-issuer",
          "algorithms": ["HS256"],
          // Either set the certificate, or save it in a file: data/global/oauth2_YOUR_STRATEGY_ID.pub
          "publicKey": ""
        }
        "scope": "openid profile email"
      },
      "fieldMapping": {
        "email": "email"
      }
    }
  }
}
SAML
You can link your SAML Identity Provider seamlessly with Botpress. When it is enabled, Admins will be greeted with a Sign in with SSO button on the Admin UI. The first user to ever log in to Botpress using the SSO provider will automatically have an account created and a Super Admin.
When a user successfully logs on to the Admin UI, Botpress will create an internal account for that user. Botpress will add them to the table strategy_STRATEGYID
There are two possible behaviors. You can either:
- Allow any user that successfully logs on using your SAML IdP to create an account. Set
allowSelfSignuptotrue - Manage users manually (you need to add their emails to the Collaborators page). Set
allowSelfSignuptofalse
Prerequisite
- Botpress Enterprise enabled with a valid license key
- A SAML IdP (Identity Provider)
Quick Start
Let's use SAML to authenticate a user. We will use jumpcloud, a popular authentication provider. Head over to the User Authentication menu and select SSO. Select a SAML Identification provider from the ones available on the list or create a new one. For this tutorial, we used Google. Enter the required information, supplying your domain name at all positions marked YOURDOMAIN
After creating your application, you will get the option to download your certificate. Your entry point url will appear next to your application labeled as IdP URL.
- Open
botpress.config.jsonand setpro.auth.strategy = 'saml' - Configure the available options. The complete list of SAML options is available here.
Here is a complete example
"auth": {
  "strategy": "saml",
  "options": {
    "entryPoint": "https://botpress-saml-idp.auth0.com/somestuff/bla",
    "callbackUrl": "http://botpress.yourdomain.net/api/v1/auth/login-callback/saml/saml",
    "path": "http://botpress.yourdomain.net/api/v1/auth/login-callback/saml/saml",
    "issuer": "botpress-saml",
    "cert": "MIIDETCCAfmgAwIBAgIJIHQ75dJxjRuEMA0GCSqGSIb3DQEBCwUAMCYxJDAiBgNVBAMTG2JvdHByZXNzLXNhbWwtaWRwLmF1dGgwLmNvbTAeFw0xOTAxMTUxNTAzMDFaFw0zMjA5MjMxNTAzMDFaMCYxJDAiBgNVBAMTG2JvdHByZXNzLXNhbWwtaWRwLmF1dGgwLmNvbTCCASIwDQYJKoZIhvcNAQEBBQADggEPADCCAQoCggEBAMUHXzCG3c4iSyU1N1Nzu8LsEIQ8tj5SHG+VtHrhWyfdckq5nP2wy/u6Tt20pdOx+4zu1718x2xVPMwFN9M2uUSJaY6vIXfHofKyn1htuYYzOklLZmnrLX4Pm7YHE2SubAsuwg6e7/sgIZ06T",
    "acceptedClockSkewMs": 5000
  },
  "fieldMapping": {
    "email": "http://schemas.xmlsoap.org/ws/2005/05/identity/claims/emailaddress",
    "firstname": "cn"
  },
  "allowSelfSignup": false
}
LDAP
Prerequisite
- Botpress Pro enabled with a valid license key
- Information to access the LDAP server
Quick Start
- Open
botpress.config.jsonand setpro.auth.strategy = 'ldap' - Configure the available options: check the full configuration for more details
Field Mapping
The fieldMapping configuration allows you to match the existing properties of your users with the one Botpress uses. You can define these fields for users: email, either fullname or firstname with lastname, company, role, and location.
Whenever a user successfully logs on using SAML or LDAP, Botpress will update his details in his Botpress profile.
{
  "fieldMapping": {
    "email": "emailAddressOnIdp",
    "fullname": "userFullName",
    "company": "!Botpress",
    "role": "userRole",
    "location": "officeLocation"
  }
}
User Authentication
Using External Authentication, it is possible to authenticate a user on your system, then validate his identity each time he sends a message to the bot. That information can be used in Actions, Hooks, and Transitions on the Flow Editor.
Here's a summary of the process:
- User authenticate on your platform
- Your platform returns a JWT token to the user and configure the webchat
- The token is sent to Botpress every time a message is sent
- Botpress validates the token, decrypt the content, and makes it available through
event.credentials
Prerequisite
- A backend that will authenticate the user and generate the JWT token
- The public key used by the backend
Quick Start
- Edit
data/global/botpress.config.jsonand setpro.externalAuth.enabledtotrue - Configure the other variables for the JWT token (issuer, audience, algorithm, publicKey)
- Restart Botpress
- Edit the code of the embedded web chat to send the generated JWT token
- Enjoy!
Here is an example configuration, check the complete configuration for more details
"externalAuth": {
  "enabled": true,
  "audience": "users",
  "issuer": "botpress",
  "algorithm": "HS256"
  "publicKey": "MIIDETCCAfmgAwIBAgIJIHQ75dJxjRuEMA0GCSqGSIb3DQEBCwUAMCYxJDAiBgNVBAMTG2JvdHByZXNzLXNhbWwtaWRwLmF1dGgwLmNvbTAeFw0xOTAxMTUxNTAzMDFaFw0zMjA5MjMxNTAzMDFaMCYxJDAiBgNVBAMTG2JvdHByZXNzLXNhbWwtaWRwLmF1dGgwLmNvbTCCASIwDQYJKoZIhvcNAQEBBQADggEPADCCAQoCggEBAMUHXzCG3c4iSyU1N1Nzu8LsEIQ8tj5SHG+VtHrhWyfdckq5nP2wy/u6Tt20pdOx+4zu1718x2xVPMwFN9M2uUSJaY6vIXfHofKyn1htuYYzOklLZmnrLX4Pm7YHE2SubAsuwg6e7/sgIZ06T",
  }
}
How to configure the Public Key
Botpress can add the public key directly in the botpress.config.json file (on the same line). If you prefer to add the key in a file, remove the property certificate, and Botpress will load the key from data/global/end_users_auth.pub
How to create a new Key Pair
The certificate must be in the PEM format. You can use the below commands to generate one.
ssh-keygen -t rsa -b 4096 -m PEM -f jwtRS256.key
openssl rsa -in jwtRS256.key -pubout -outform PEM -out jwtRS256.key.pub
cat jwtRS256.key // Your private key
cat jwtRS256.key.pub // Your public key
Authenticate the user
Once you have generated the JWT token, Botpress must pass it down to the webchat. It will then be sent to Botpress with every message and event. Check out the Connecting your bot with your existing backend for more details. There are two different situations:
- The user is authenticated before the webchat is loaded.
Simply add the external token as an option to the init method:
window.botpressWebChat.init({
  host: 'http://localhost:3000',
  botId: botId,
  externalAuthToken: 'my.jwt.token'
})
- The user is already discussing with the bot, then he is authenticated
Use the configure method to change the option:
window.botpressWebChat.configure({ externalAuthToken: 'my.jwt.token' })
How to use the authenticated payload
When a user is authenticated, the JWT token is automatically decoded. If the token is valid, all the data it contains will be available through the event.credentials property. This can be accessed inside Hooks and while using Actions.